Table of Contents
Introduction
This view offers the possibility to evaluate the quality of the registration/mapping of two given images by visual inspection. This can either by used to assess the visual quality of a registration or to assess how well the image contents are already aligned by default. To achieve the latter, one may select no registration. Then the images will be displayed in evaluation mode assuming an identity transform (so no mapping). It is one of several MatchPoint registration plug-ins.
Usage
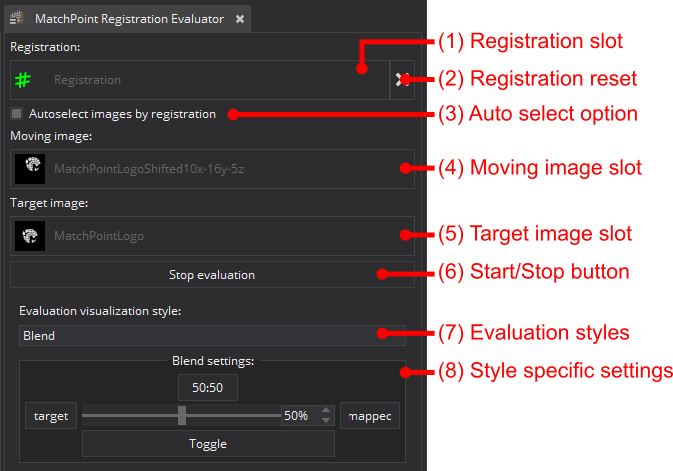
(1) The currently selected registration that should be used to map the moving image for evaluation. Click to change. If no registration is selected, a direct evaluation will be performed.
(2) Reset button will remove the currently selected registration.
(3) Auto select option. If active the view will try to deduce and automatically select (if loaded in the application) the moving and target image when the registration changes. The view assumes that the moving and target images used to determine the registration should be used.
(4) The currently selected moving data. Click to change.
(5) The currently selected target data. Click to change.
(6) Start/Stop button used to activate/deactivate the evaluation. This button become active when at least the moving and the target image are selected.
(7) Selection of the visualization style. (only visible if evaluation is active)
(8) Style specific settings. (only visible if evaluation is active)
If the evaluation view is active you can choose between different modes of visualization. For more details see Visualization styles .
To stop the evaluation mode, you may use the "Stop evaluation" button or just close the evaluation view.
- Remarks
- The evaluation view will use the level window settings of the used images. So to change the level windowing of the evaluation view, you must change the level windowing of the respective input images (moving image and target image).
Evaluating accuracy
Important note: Please be aware, that a visual inspection of registration quality is only a weak surrogate for a thorough accuracy analysis based on representative and suitable ground truth data. From a visually good mapping you can not deduce a correct registration. This is especially true if the degrees of freedom of the registration increases. For a rigid registration it might by feasible to discern correct and incorrect registration. But for none rigid registrations you definitely you should use this view only for first visual inspection (to check if it SEEMS to do the right thing and is worth further exploration) or illustrating the registration effect for registration you have assessed in a sound way.
Visualization styles
You can choose from the following visualization styles to evaluate the registration/mapping quality:
- "Blend": Blends the images with a user defined weight. Default is 50:50.
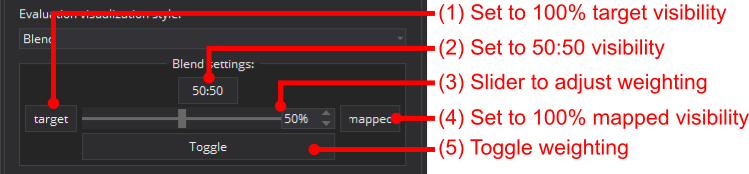 Settings of the Blend style
(1) Click to set the weights to 100% target image.
(2) Click to set the weights to 50:50 (equal blend).
(3) Slider to adjust the weights between target image and the mapped input image. The spin box shows the weight of the mapped input image.
(4) Click to set the weights to 100% mapped input image.
(5) Click to toggle the weight between both images.
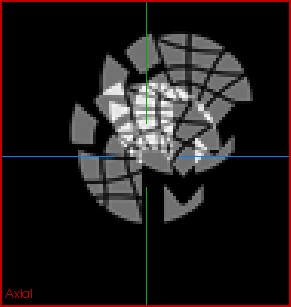 Example for mode: Blend (50:50)
- "Checkerboard": Checkerboard style that composes both images by showing image 1 in all light squares and image 2 in all dark squares. You can define the resolution/number of squares of the checkerboard.
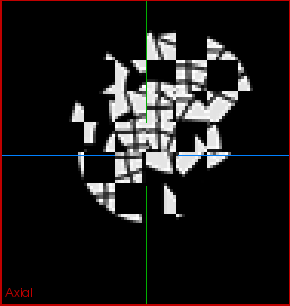 Example for mode: Checkerboard
- "Color blend": Color blend of the images (blue: target image; yellow: moving). Areas where you see no color implies good intensity matchings.
 Example for mode: Color blend
- "Contour": Blend mode that displays one image as blue "background" and the other image in yellow contours. You can choose the role of the images.
 Example for mode: Contour
- "Difference": Displays the absolute difference of both images.
- "Wipe": Blend mode that makes a rectilinear combination of the images. You can choose the mode how the images are split. The split is synchronized with the current selection. So you may interact with the split border to position it on interesting areas.
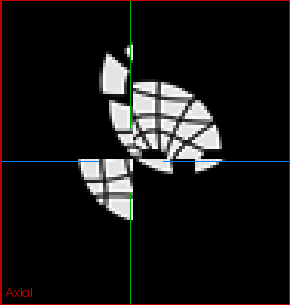 Example for mode: Wipe cross
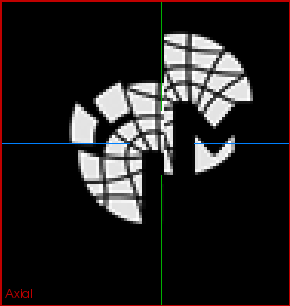 Example for mode: Wipe horizontal