Icon of the MatchPoint Algorithm Control
Introduction
This plugin offers the user a way to use a selected registration algorithm in order to make a frame/motion correction for a selected 3D+t images. The plugin is for example helpfull if you have a dynamic image with motion artifacts in same time points and you want to reduce/remove this motion artifacts. For the selection of an algorithm please see MatchPoint Algorithm Browser (de_dkfz_matchpoint_mitk_gui_qt_algorithm_browser).
Contact information
This plug-in is being developed by the SIDT group (Software development for Integrated Diagnostics and Therapy) at the DKFZ (German Cancer Research Center). If you have any questions, need support, find a bug or have a feature request, feel free to contact us at dipp@.nosp@m.dkfz.nosp@m..de.
Usage

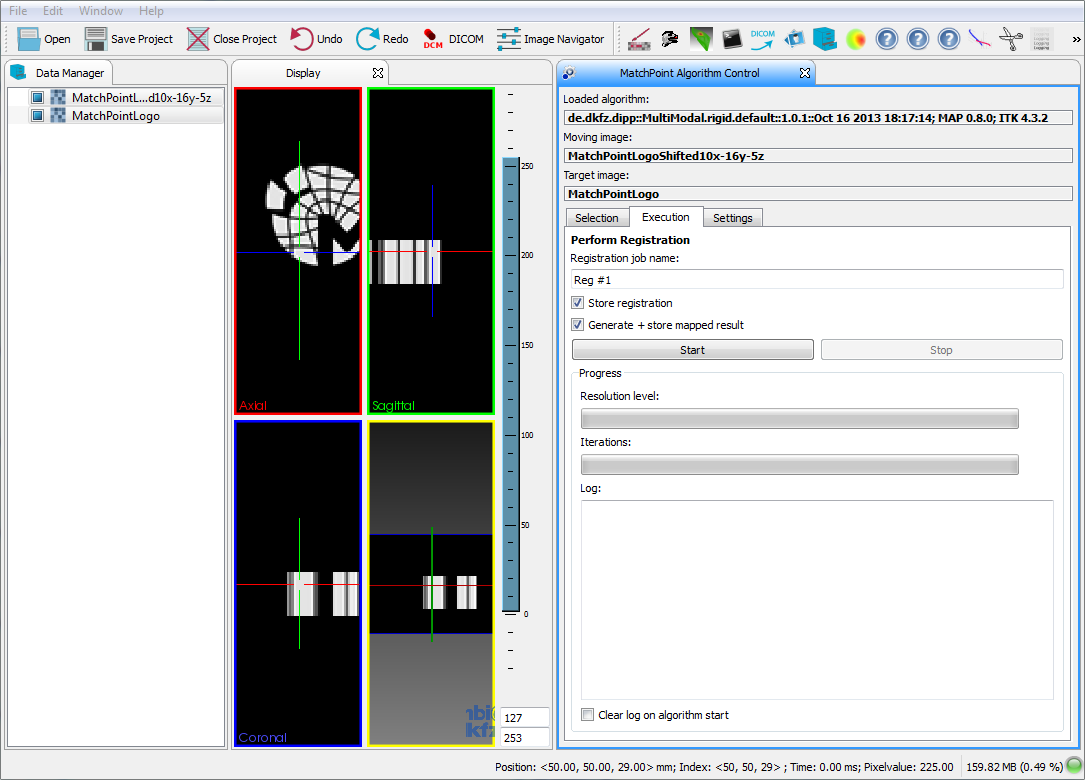
Example screenshot showing the plugin in use.
To use the plugin a registration algorithm must be loaded and the image must be selected, that should be corrected.
The correction is performed that every frame/timpoint of the image is registered to the first frame. And the corrected frames is mapped in the same geometry then the first frame.
If an algorithm is loaded and input images are selected, the plugin will automatically switch to the "Execution" tab.
Algorithm selection tab

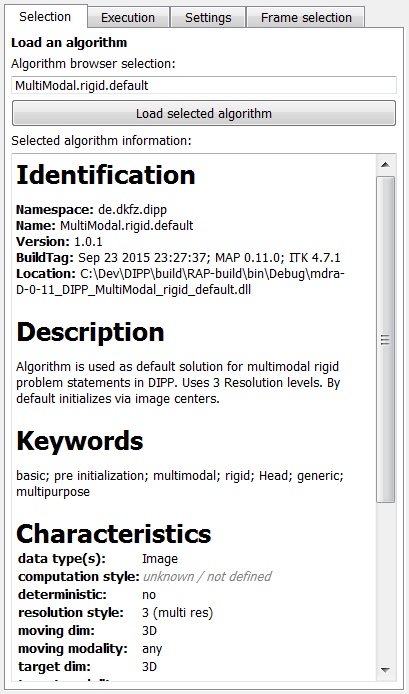
Details of the algorithm selection tab.
In this tab you can load/"book" the algorithm selected in the MatchPoint Algorithm Browser. In the tab you see the ID of the algorithm selected by the browser and its profile information.
If you press "Load selected algorithm", the algorithm will be used by the plugin for the frame correction and the name of the algorithm occurs in the text field "Loaded algorithm" (at the top of the plugin view).
At this point, it has no effect if you change the the selection in the browser. The plugin will keep the loaded algorithm until you choose to load another one.
Execution tab

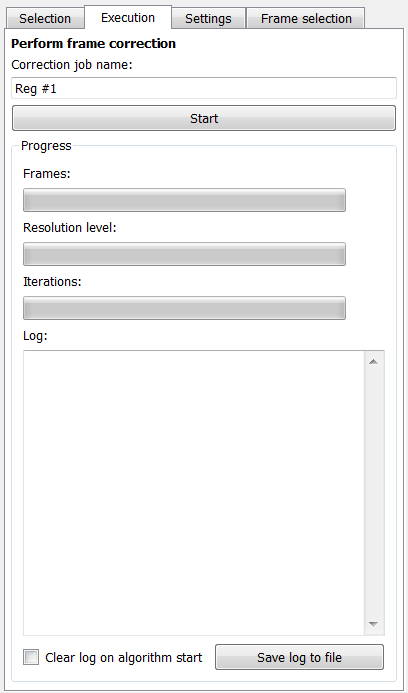
Details of the execution tab.
In this tab you can specify a name for the correction job (this will determine the names of the result nodes in the data manager).
"Start" will trigger the correction process.
Settings tab

Details of the settings tab.
In this tab, you can (1) define the mapping settings (See details), used for the corrected frames, or (2) parametrize the loaded algorithm (before it starts), if it offers any possibility to do so.


