Table of Contents
Overview
This plug-in is allows the communication with a XNAT server from within MITK.
The benefits of this plug-in are:
- Browsing through the XNAT data hierarchy
- Downloading data and visualize/process it in the MITK Workbench
- Uploading data from within the MITK Workbench
Connect to XNAT
For communicating with XNAT you have to connect to your XNAT instance.
XNAT preferences
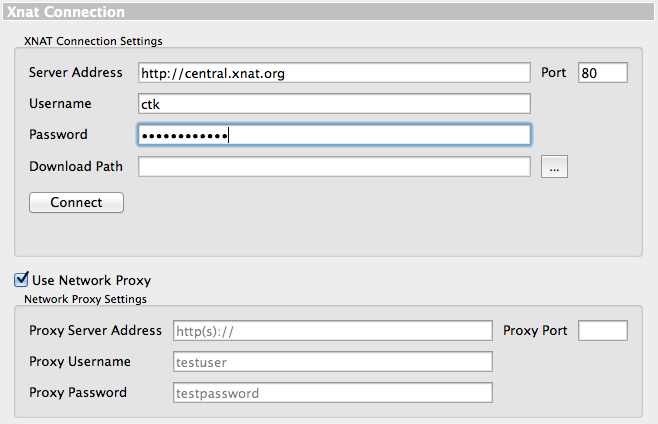
In order to establish the connection to XNAT you have to specify the XNAT server address, username and password in the XNAT preference page. It is also possible to specify a network proxy if you are behind one (this could lead to connection errors). Via the download path you can tell MITK where to save the data that is uploaded or downloaded. A screenshot of the preference page can be seen below.
Session time-out handling
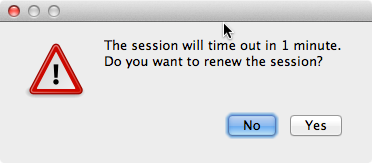
Once you are connected to XNAT, MITK takes care about the session handling. A existing XNAT session times out after a certain period of inactivity, usually after 15 minutes. One minute before session time-out MITK asks you to renew the session:
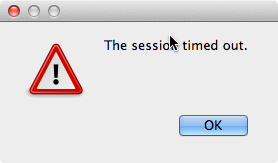
If you do not renew the session MITK notifies you if the session has expired:
Browse data
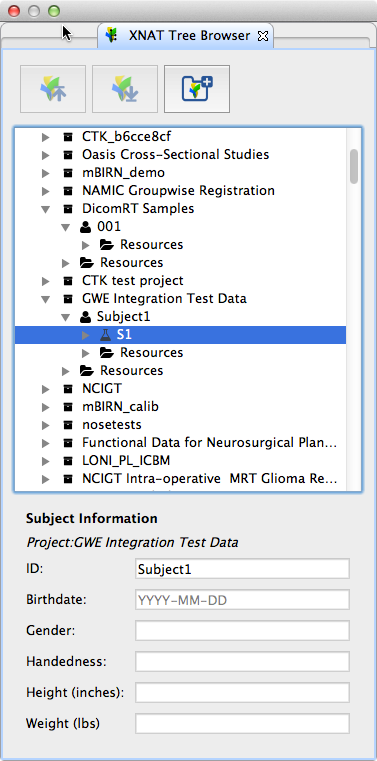
Once you are connected to XNAT, MITK displays the XNAT data hierarchy as a tree within the XNAT tree browser. You can browse through the data by expanding the tree items (which is also possible via double click). If you hover the mouse cursor over an item you will see a tool tip with detailed information. The following table gives an overview about the icons of the treeview and the related XNAT objects
| Icon | XNAT object |
|---|---|

XNAT Server | |

XNAT Project | |

XNAT Subject | |

XNAT Experiment | |
XNAT Scan top-level folder | |

XNAT Scan | |
XNAT Resource top-level folder | |

XNAT Resource folder | |

XNAT File |
If you have selected a XNAT project, subject or experiment, MITK displays detailed information in a separate info area below the tree browser
Download data
MITK allows you to download your data from XNAT. You can either simply download the data to your file system or your can download it and open it immediately in the workbench.
Download data to file system
If you just want to download data, simply right-click on a XNAT file or scan on the tree browser and select "Download". The data will be stored in the specified download location.
Download data and open it in MITK
You can download and open data in three ways:
- One is via right-click on a file or scan and selecting "Download and open".
- You can also double-click on a file or scan. MITK will then ask you if you want to download and open the data.
- The other one is via selecting a file or scan with left-click and then click on the download button above the tree view

Upload data
You can also upload data to XNAT from within the workbench. Please note that it is currently only possible to upload files as resources. Uploading DICOMs is not yet available.
Upload from file system
If you just want to upload a local file, right-click on a resource and select "Upload". A file dialog will open, which allows you to select a file for upload.
Upload via data manager
If you want to upload data from within the MITK Workbench you can simply right-click on the data node in the data manager and select "Upload to XNAT". An "XNAT Upload dialog" will appear:
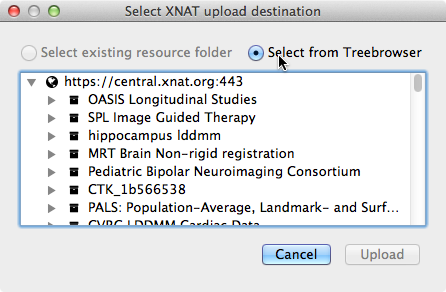
You can then either select a existing resource folder if MITK is able to find ones or you can select the upload destination in a tree view.
Upload via drag and drop
Another way to upload the data is to drag the data node on the XNAT resource where you want to upload it to.
Upload via XNAT Plugin
Finally, if you select a data node and you select a XNAT resource, the upload button of the XNAT plugin will be enabled. If you click on that, the data will be uploaded.

Create a resource folder
You can also create new resources (i.e. folders to group your files in XNAT). Therefor you can either right-click on a project, subject, experiment or scan and enter the name of the folder in the appearing dialog. Or you simply select one of these items and click on the "Add folder button" above the tree browser.

Create a subject
You can create subjects by right-clicking on a project and selecting "Create new subject". A dialog will appear where you have to enter the subject information.
Create a experiment
You can create experiments by right-clicking on a subject and selecting "Create new experiment". A dialog will appear where you have to enter the experiment information.
