- Examples/Tutorial/Step4
- https://www.mitk.org/download/tutorial-data/Pic3D.nrrd (image)
https://www.mitk.org/download/tutorial-data/lungs.vtk (surface)
As in Step 2 and Step 3 one or more data sets may be loaded.
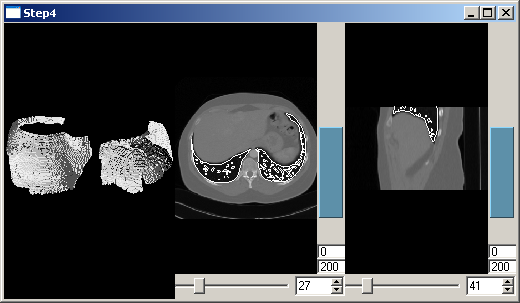
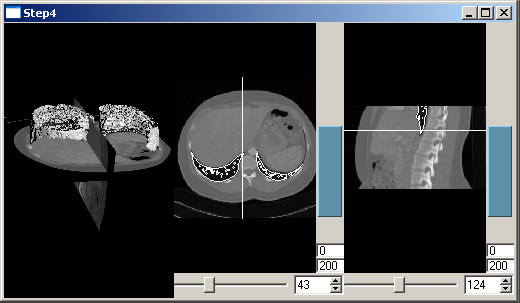
This now creates three views on the data. The QmitkRenderWindow is used for displaying a 3D view as in Step 3, but without volume-rendering. Furthermore two 2D views for slicing through the data are created. The class QmitkSliceWidget is used, which is based on the class QmitkRenderWindow, but additionally provides sliders to slice through the data. We create two instances of QmitkSliceWidget, one for axial and one for sagittal slicing. Step 4b enhances the program in that the two slices are also shown at their correct position in 3D as well as intersection-line, each in the other 2D view.
As in the previous steps, to obtain the result the program has to be executed using the image file Pic3D.nrrd and the surface file lungs.vtk.
Step 4a - Create axial and sagittal view

Create a Qt horizontal box for the layout:
Then create a renderwindow:
Create a 2D view for slicing axially:
Then create a 2D view for slicing sagittally.
The toplevelWidget is now the new main widget:
Step 4b - Display slice positions

We now want to see the position of the slice in 2D and the slice itself in 3D. Therefore it has to be added to the tree:
Slice positions are now displayed as shown in the picture.
