|
Medical Imaging Interaction Toolkit
2016.11.0
Medical Imaging Interaction Toolkit
|
|
Medical Imaging Interaction Toolkit
2016.11.0
Medical Imaging Interaction Toolkit
|
As we want to develop our Custom Viewer as part of BlueBerry to demonstrate the customization capabilities of the application framework, we have to integrate the components of our example application as BlueBerry plugins in order to make the application framework's functionalities available to our application. For example plugin startup with BlueBerry, a convenience application called BlueBerryExampleLauncher is already provided in the Examples/BlueBerryExampleLauncher directory of MITK. This application acts as a BlueBerry loading mechanism for any example application provided.
To make an example application startable by the BlueBerry example launcher, we have to provide a folder inside Examples/Plugins containing all files making up the application plugin itself. Additionally, we have to add entries to the PluginList.cmake in the Examples/Plugins directory for plugin registration and create a new file in the Examples/BlueBerryExampleLauncher/Configurations folder containing the plugin itself as well as any further required plugin.
The resulting plugin folder for our custom viewer application consists of several subfolders and files:
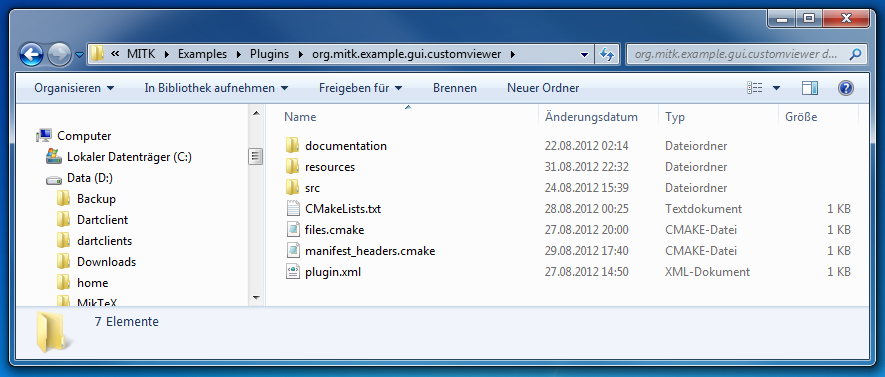
We can see a documentation and resources folder, a source folder containing all source files, some cmake-related files and a plugin.xml file for the BlueBerry related plugin extension and extension-point declarations.
Next, we add some source code to our plugin folder. First, we need a class for our CustomViewer application itself which we derive from the berry:IApplication application class:
In short, this class acts as an entry point for the BlueBerry application runtime. It defines what the application does when it is started (Start()-Method) and before it is ended (Stop()-Method). Our Start()-Method creates a BlueBerry display for GUI-rendering and a WorkbenchAdvisor for workbench control. Then the BlueBerry workbench is created and run given the created display and WorkbenchAdvisor:
The Stop()-method does not need to be further defined. In addition, a default perspective identifier is given to define an initial perspective to be shown by the WorkbenchWindow.
Later, we well need a proper WorkbenchAdvisor class derived from berry::WorkbenchAdvisor. In it, we will create a WorkbenchWindowAdvisor, which on his part is used to control the WorkbenchWindow's GUI creation. For now, we simply use the berry::WorkbenchWindowAdvisor, which creates the GUI in a default way. As the development of our custom viewer advances, we will want to take part in the GUI creation ourselves, so we will need to customize our own WorkbenchWindowAdvisor accordingly.
Now we create a class named ViewerPerspective which is derived from berry::IPerspectiveFactory:
It acts as an initial perspective to be displayed as part of our bulk application plugin. For now, the perspective will remain empty and can, alongside the definition of further perspectives, be provided with views later by overwriting the CreateInitialLayout()-Method.
Finally, we need a ctkPluginActivator derived class which is used to customize the starting and stopping of our plugin:
During plugin-start, we register our plugin classes given the ctkPluginContext by overwriting the start()-Method.
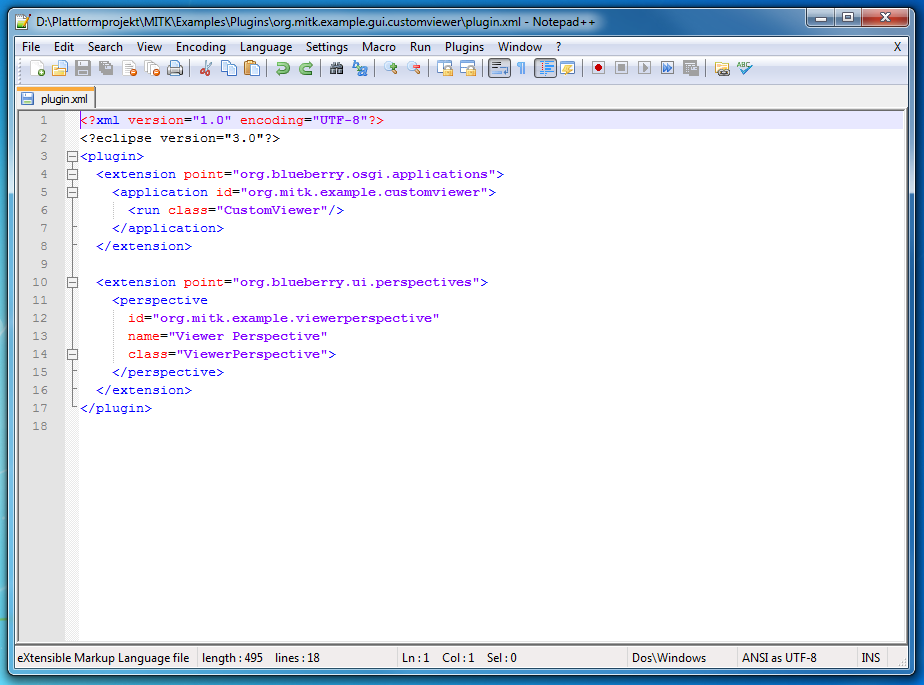
In order to connect our application and its perspectives to the BlueBerry components we have to declare the according extension-point-contributions inside the plugin.xml file. As can be seen in the image below, our application and its perspectives contribute to the org.blueberry.osgi.applications and org.blueberry.ui.perspectives extension points respectively.
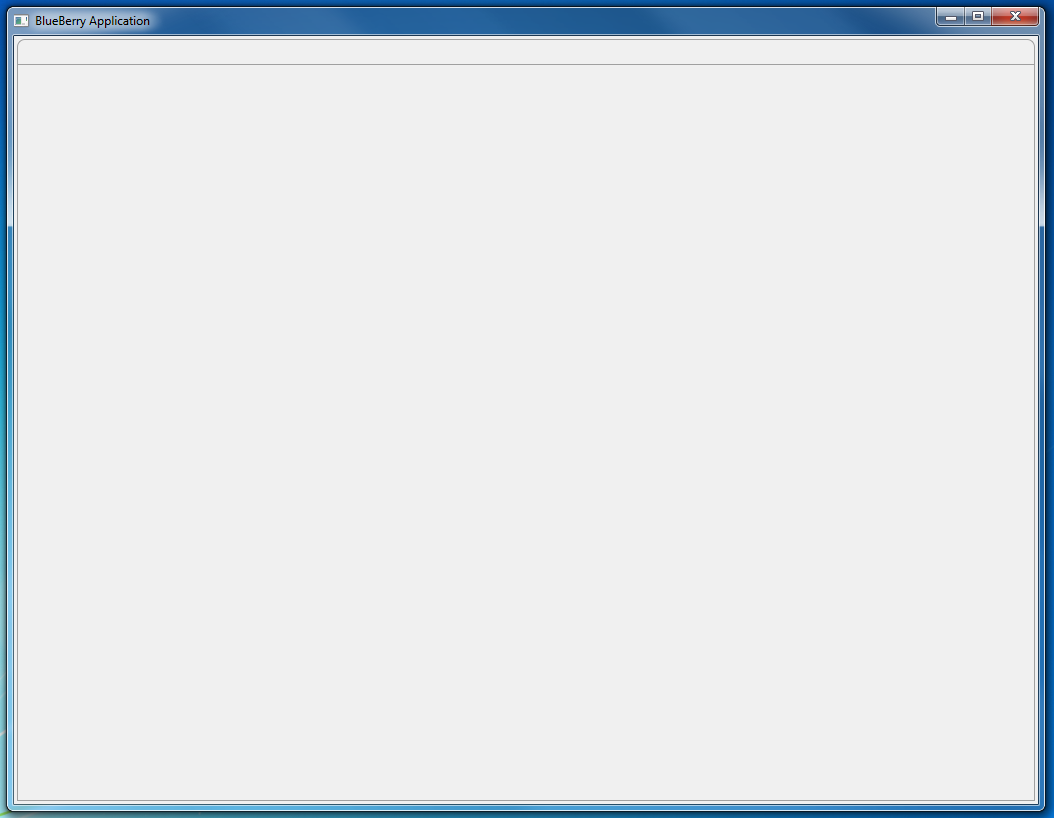
When we start the BlueBerryExampleLauncher (either directly or via the provided batch files), we can now choose our bulk application (among others present), and a window is presented showing our empty initial perspective.
Go to the previous page Introduction. Or proceed to the next page Main Window Layout: ViewerPerspective and DicomPerspective.
 1.8.9.1
